
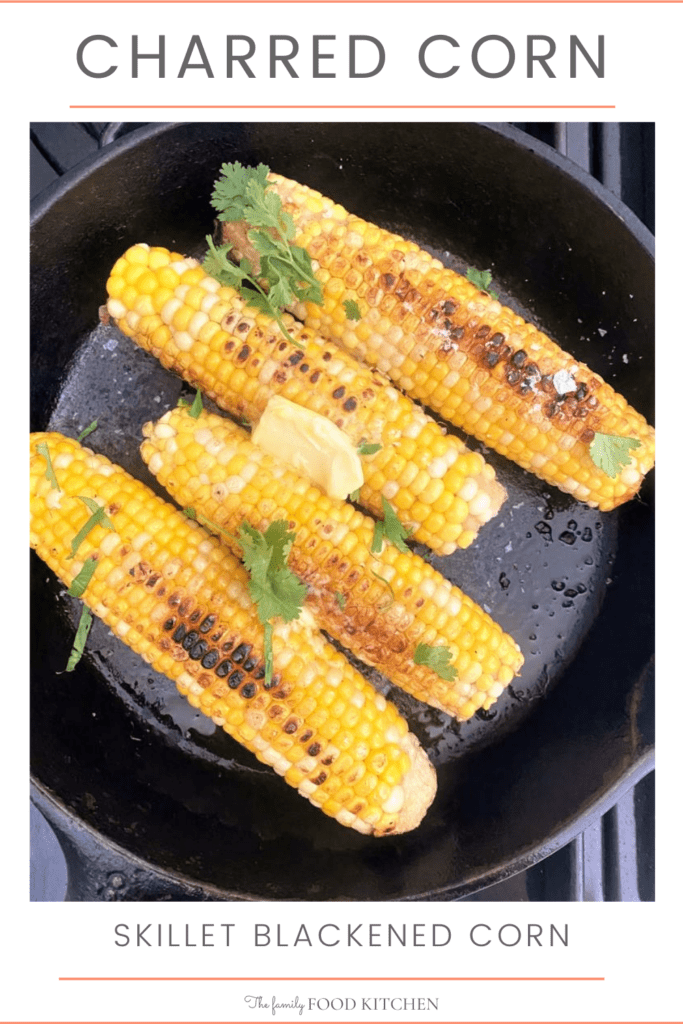

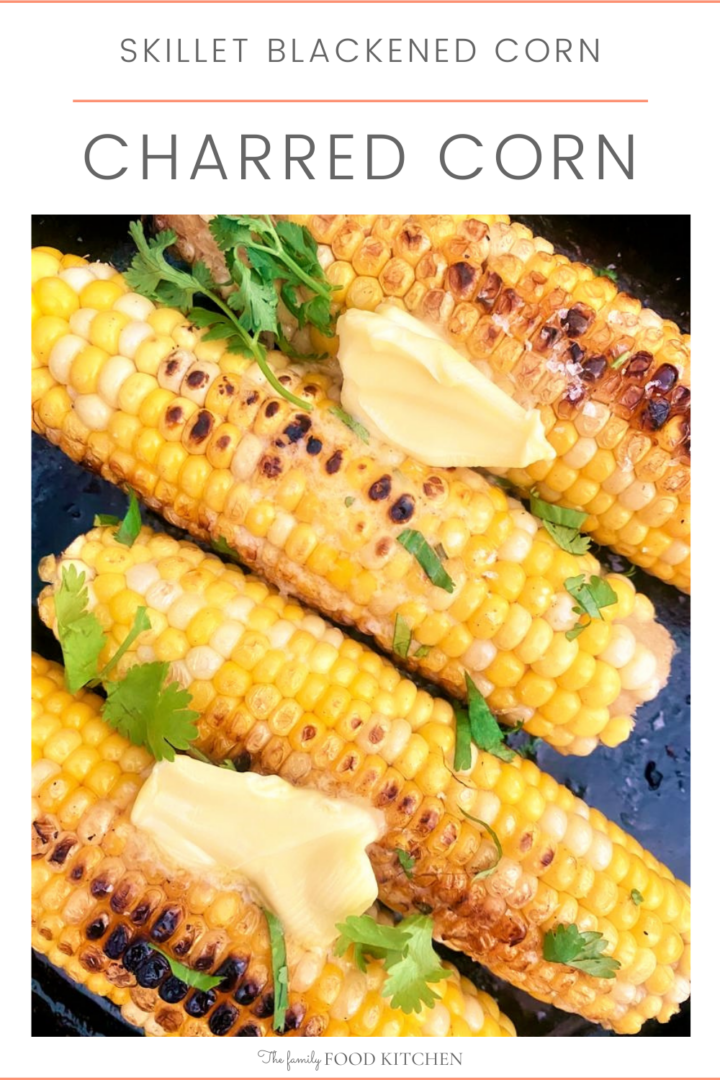
This skillet charred corn recipe—or blackened corn, as it’s also known—is a total game changer. Ready in just 15 minutes with only 4 simple ingredients, it’s the ultimate shortcut to that smoky, caramelized summer grill flavor all year long. This quick and easy side dish is completely addictive.
As a busy mum of three, I’m always testing ways to get a bit of BBQ flavor into a busy weekday kitchen. This recipe nails it.
By combining a quick par-boil with a screaming hot cast iron skillet, you get sweet, smoky corn that tastes like it came off a flame—all in 15 minutes.
Par-boiling the corn for 4 minutes gelatinizes the starches and traps moisture inside the kernels so they don't shrivel or turn chewy in the hot pan. This quick step guarantees a juicy, tender pop underneath that perfectly smoky, charred exterior.
Jump to:
- Why this charred corn recipe works so well
- Ingredients
- Charred Corn on the Grill
- How to Make Charred Corn - Step-By-Step
- Expert Tips & Tricks
- Variations & Substitutions
- How to Serve
- Storage
- Reheating
- Can I freeze cooked corn?
- Frequently Asked Questions
- Pin This Skillet Charred Corn - Blackened Corn Recipe For Later
- What Do You Think?!
- More Easy Side Dish Recipe Ideas
- Printable Recipe
- Skillet Charred Corn Recipe (Blackened Corn)
- Reader Comments & Ratings
Why this charred corn recipe works so well
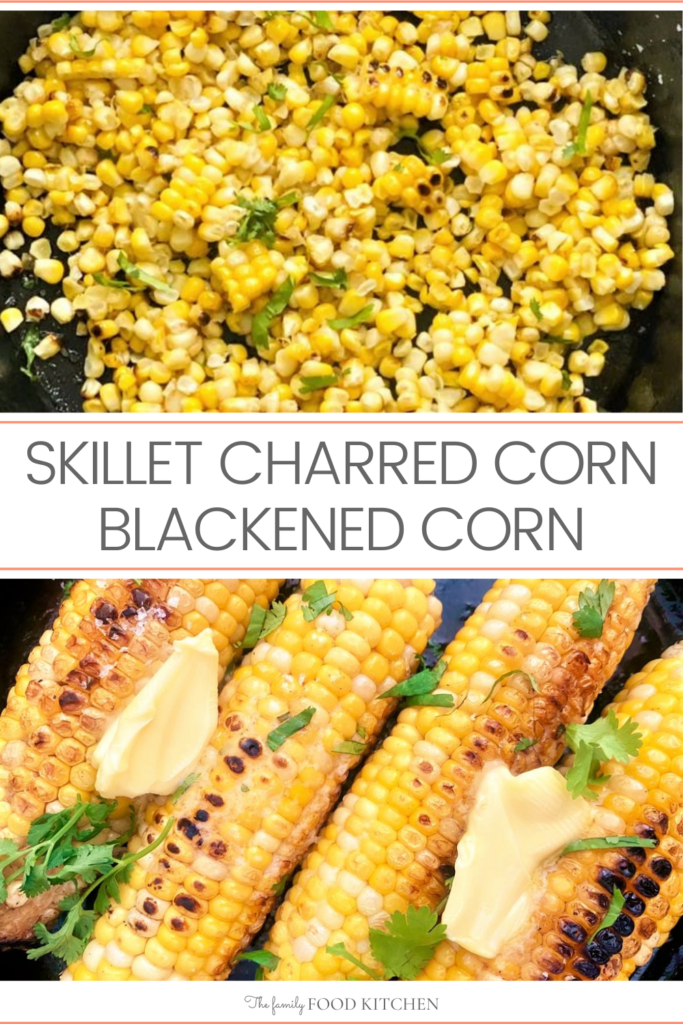
- Charred corn (or corn on the cob if you're in the UK) can be enjoyed straight off the cob or sliced off into a bowl, depending on how you like to serve it.
- Searing the corn really intensifies the sweetness and depth of flavor.
- I've added butter and a scattering of fresh cilantro, but you can get really creative with the flavors and I've made some suggestions later in this post.
- Corn is a real hit with children, I find all kids love it, and it's a great way of adding to their 5-a-day.
- It’s also incredibly easy to scale up for dinner parties or backyard gatherings—just double the recipe and sear the corn in quick batches to keep the pan screaming hot.
- Love easy veggie sides? Have you tried these other popular recipes?
Ingredients
Find the full list and quantities in the recipe card below.
Corn - I use ears of fresh corn as they have the best flavor.
Oil - Olive oil is my favorite oil to use for charring corn as it has a great flavor. You can substitute with other oils like avocado, coconut or rapeseed oil.
Butter - You can use either salted or unsalted butter in this dish. If using salted butter just adapt the seasoning to suit.
Charred Corn on the Grill
I've cooked the corn indoors, but it's really easy to do this on the grill/BBQ too.
Once you've parboiled the corn, transfer everything outside, place the corn directly onto the grill and maintain the same cooking times!
How to Make Charred Corn - Step-By-Step
Find the full printable recipe below.
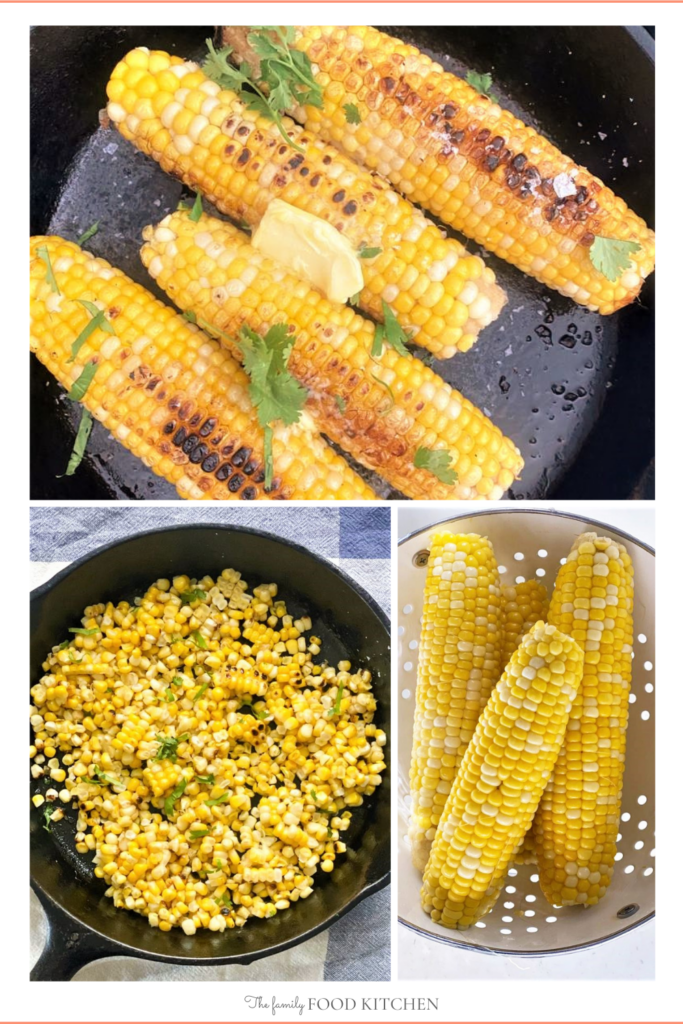
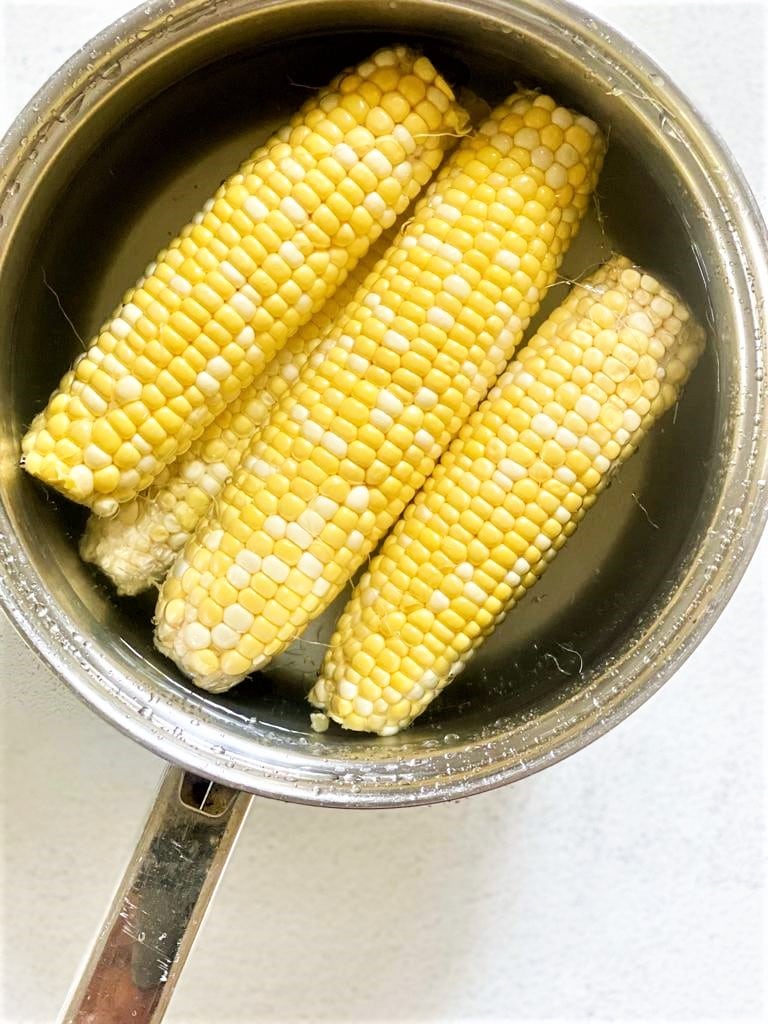
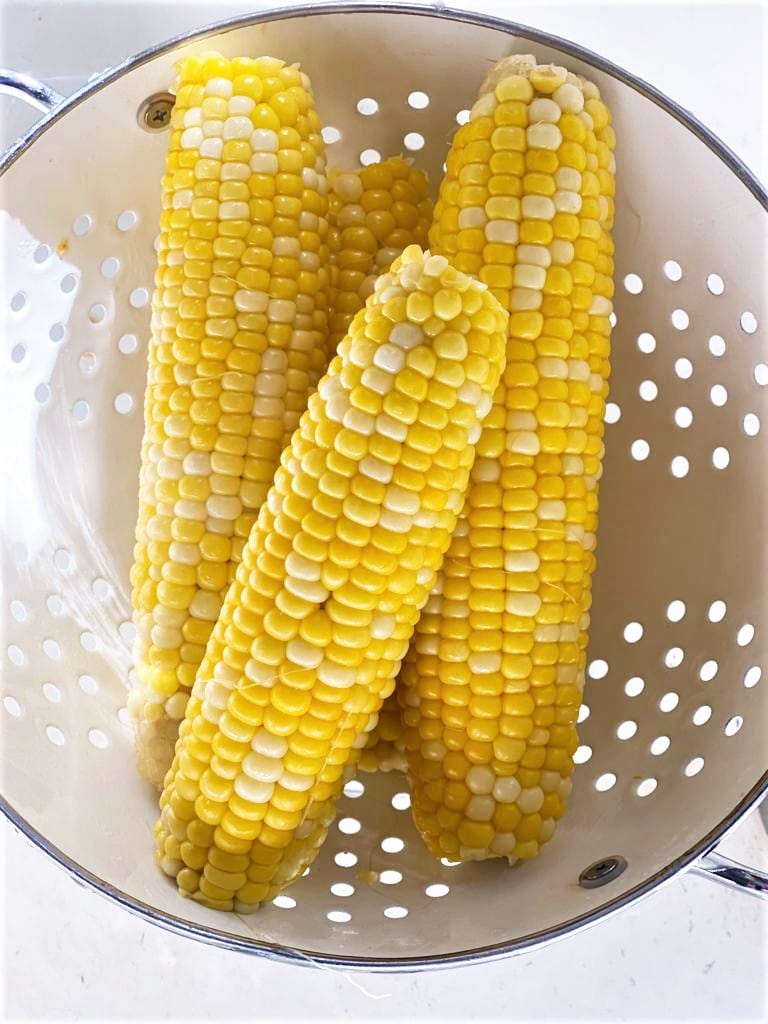
Par-boil the prepared ears of corn for around 4 minutes before draining and setting aside. This will make sure that it is perfectly tender when you come to eat it.
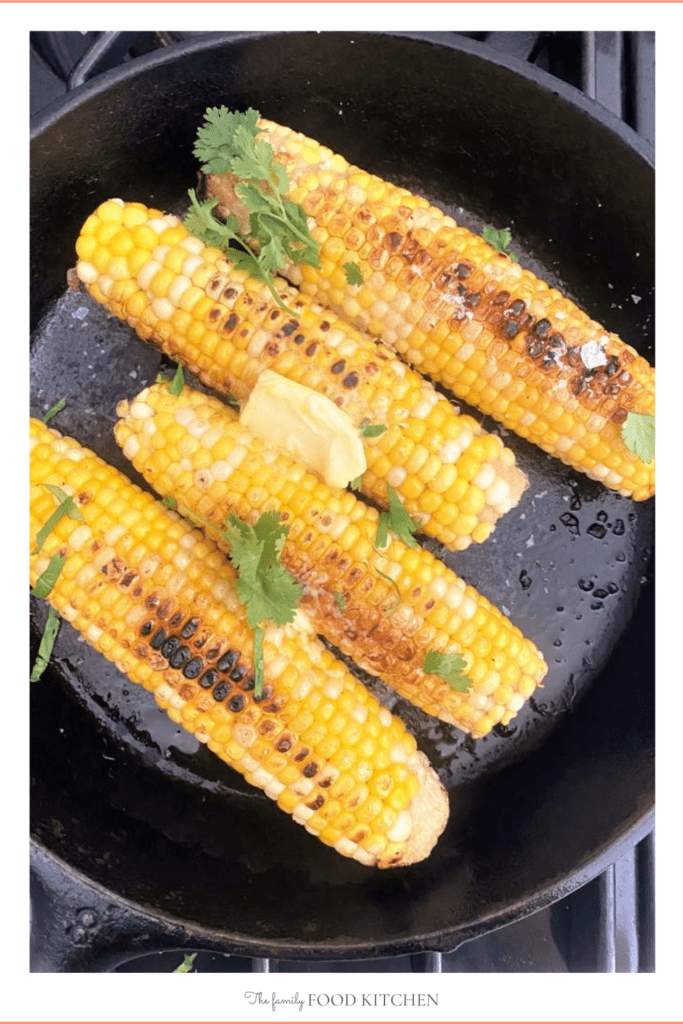
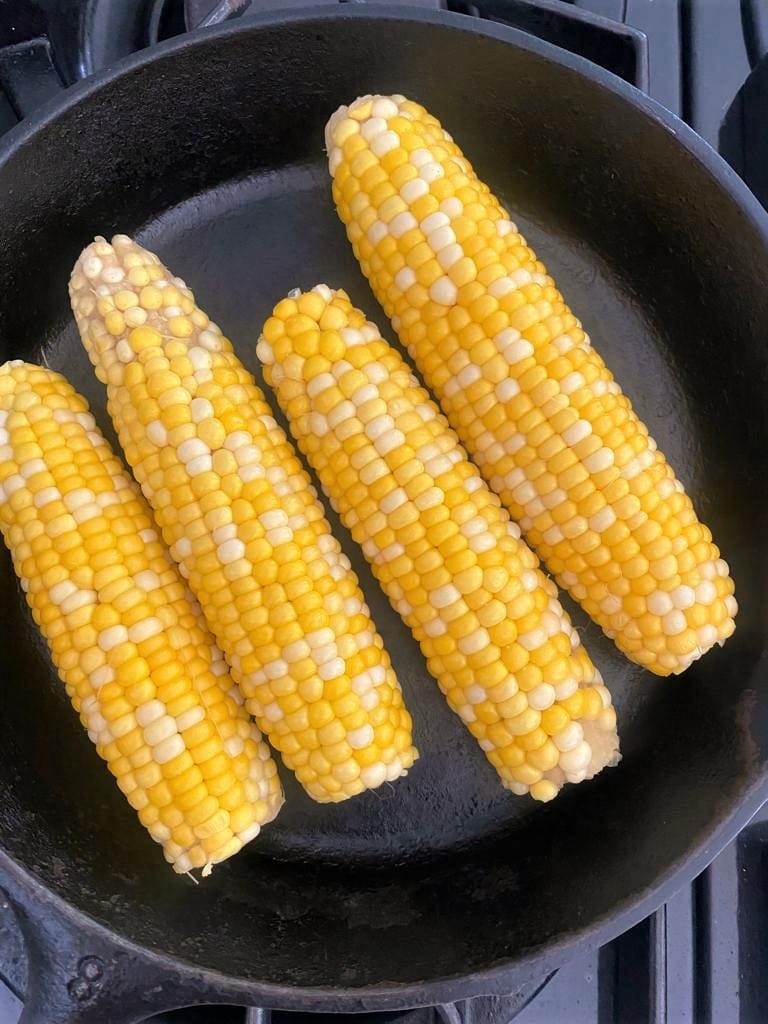
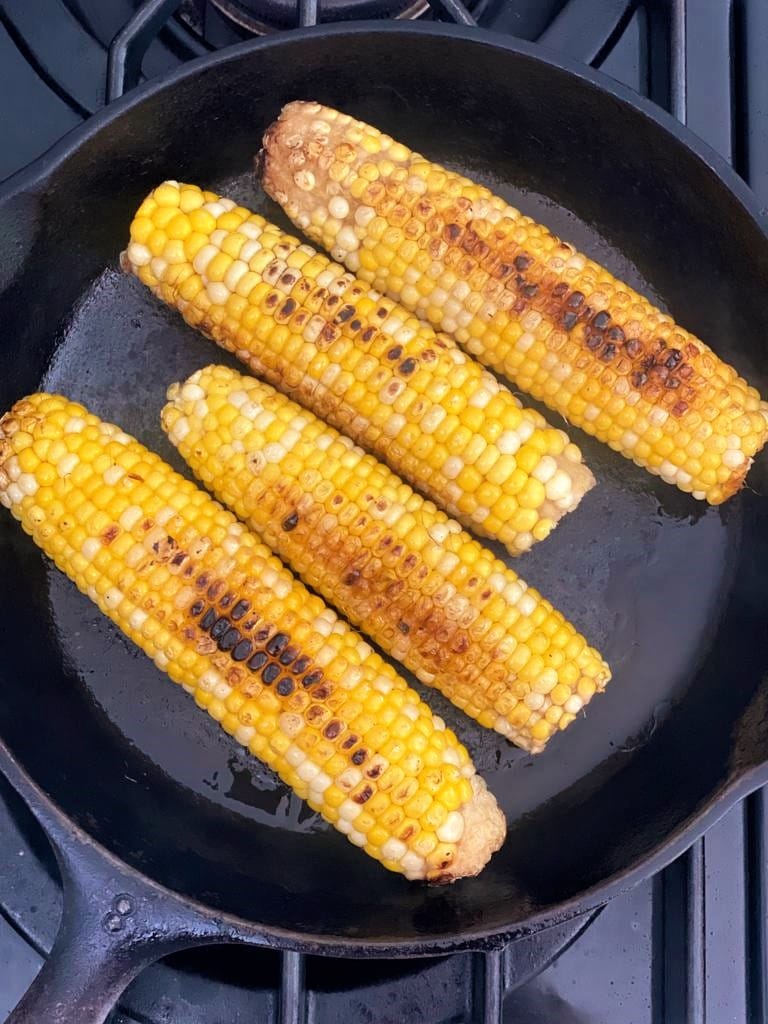
Heat olive oil in a skillet until very hot and smoking.
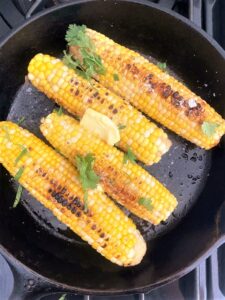
Cook the corn in the hot skillet for roughly 3 minutes on each side. Do not move the corn except to turn it after 3 minutes or when the kernels have started to char.
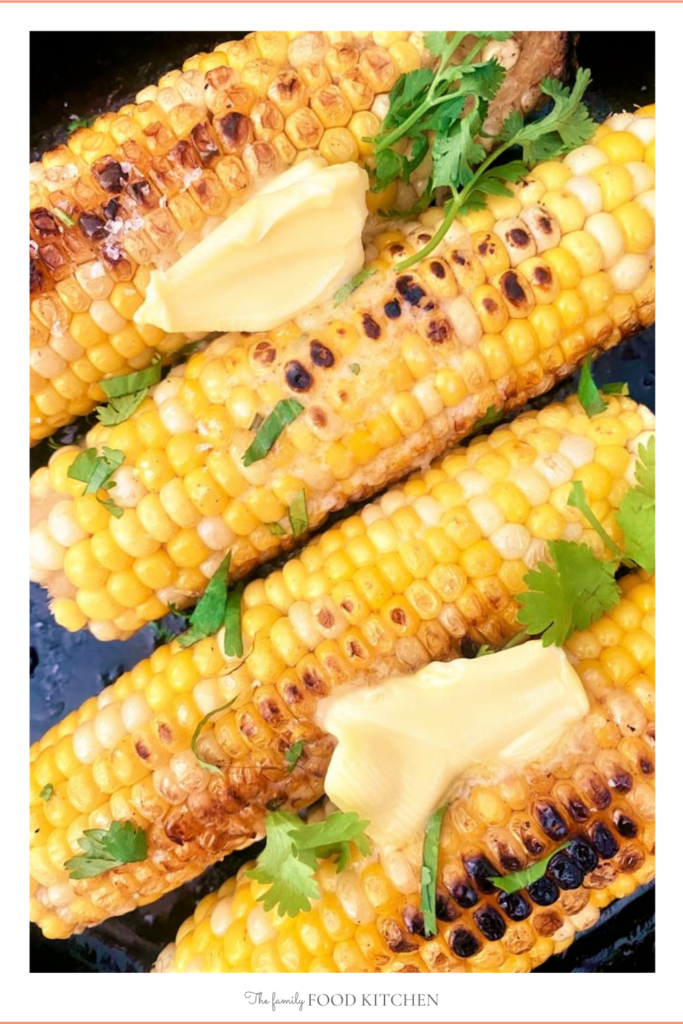
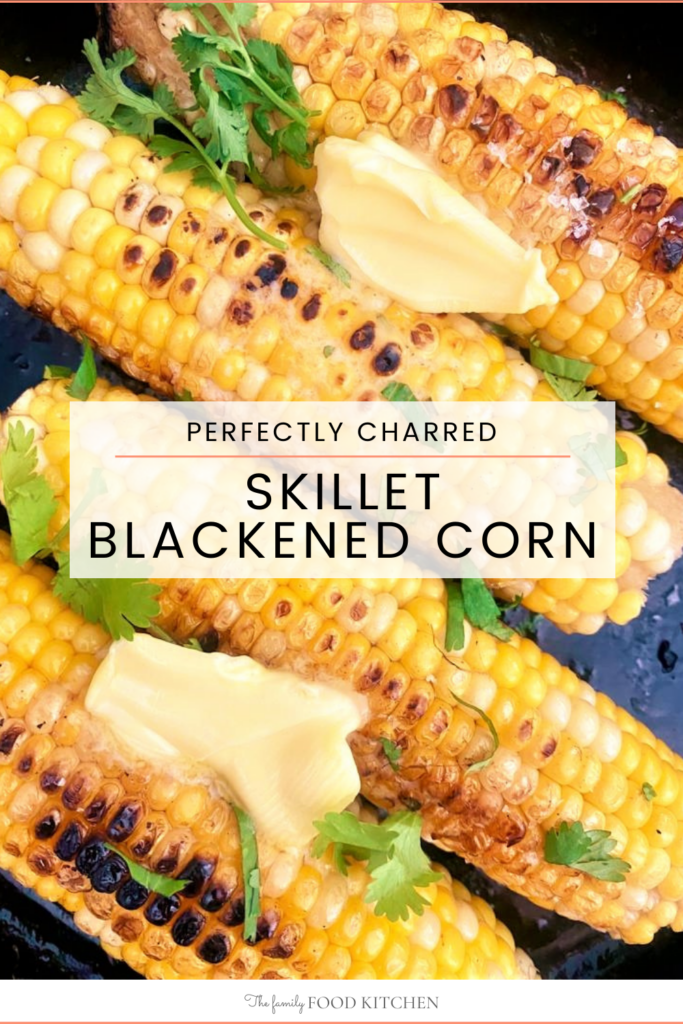
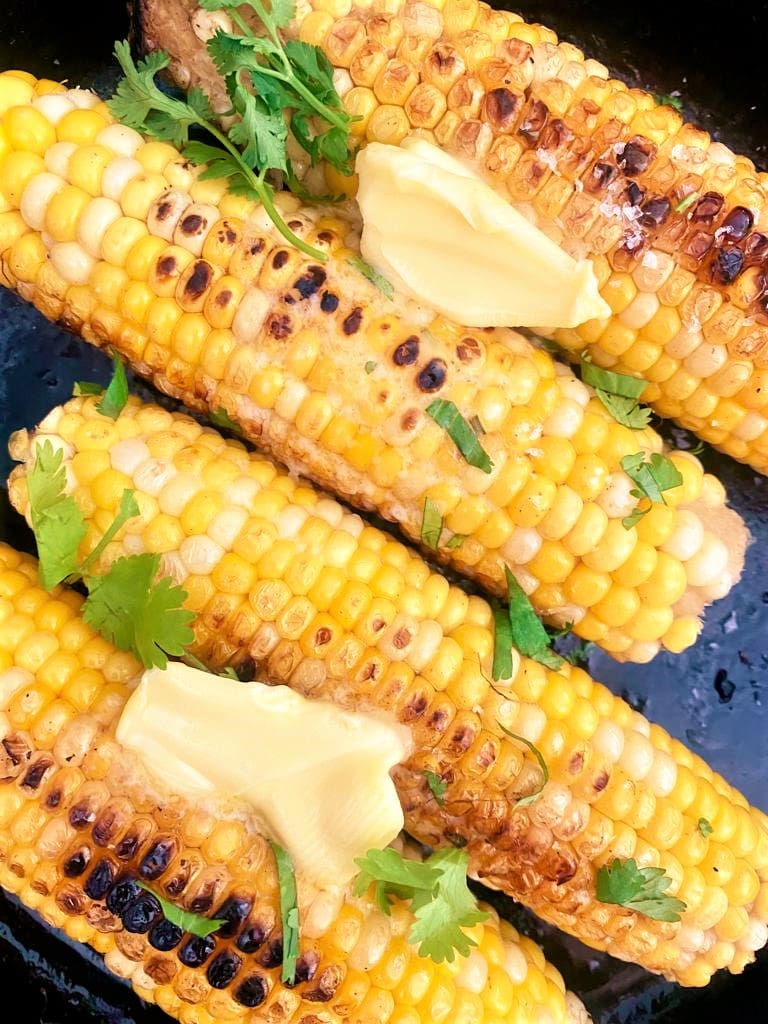
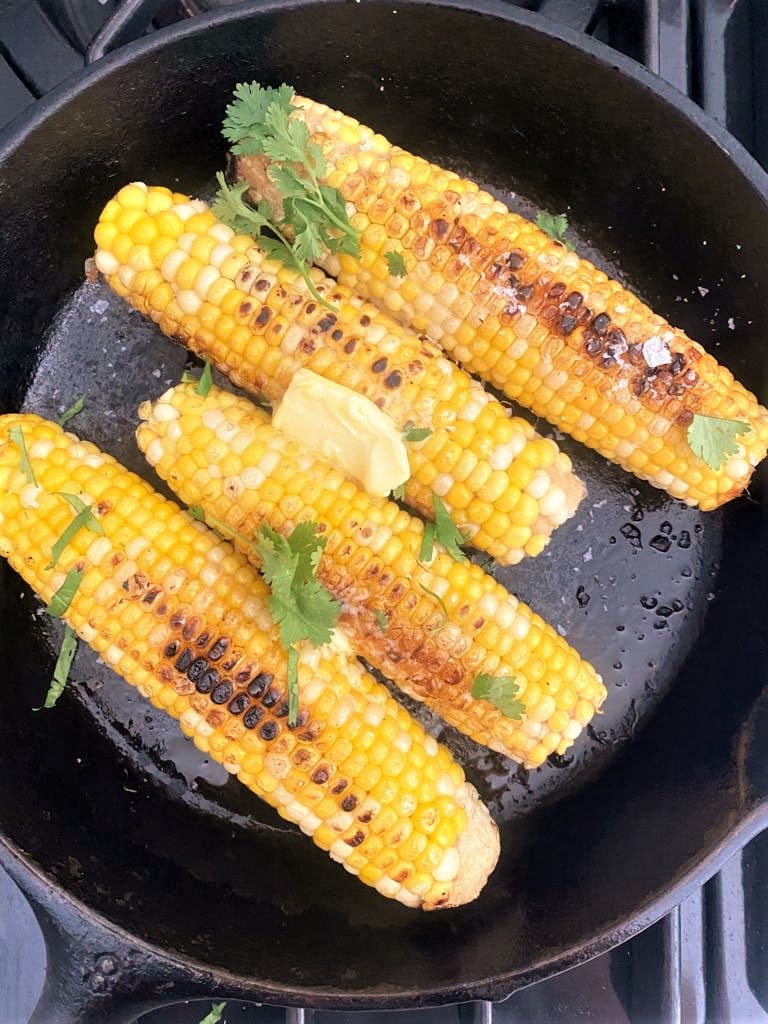
Add the butter and allow to melt onto the corn.
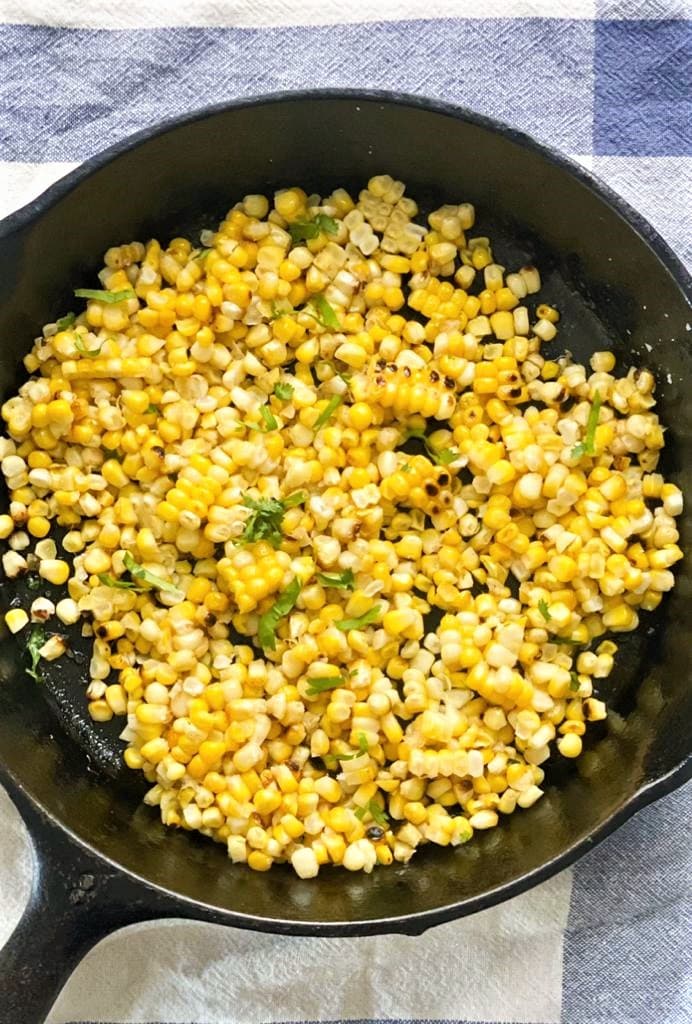
Serve with extra sea salt, more butter and (optionally) chopped cilantro.
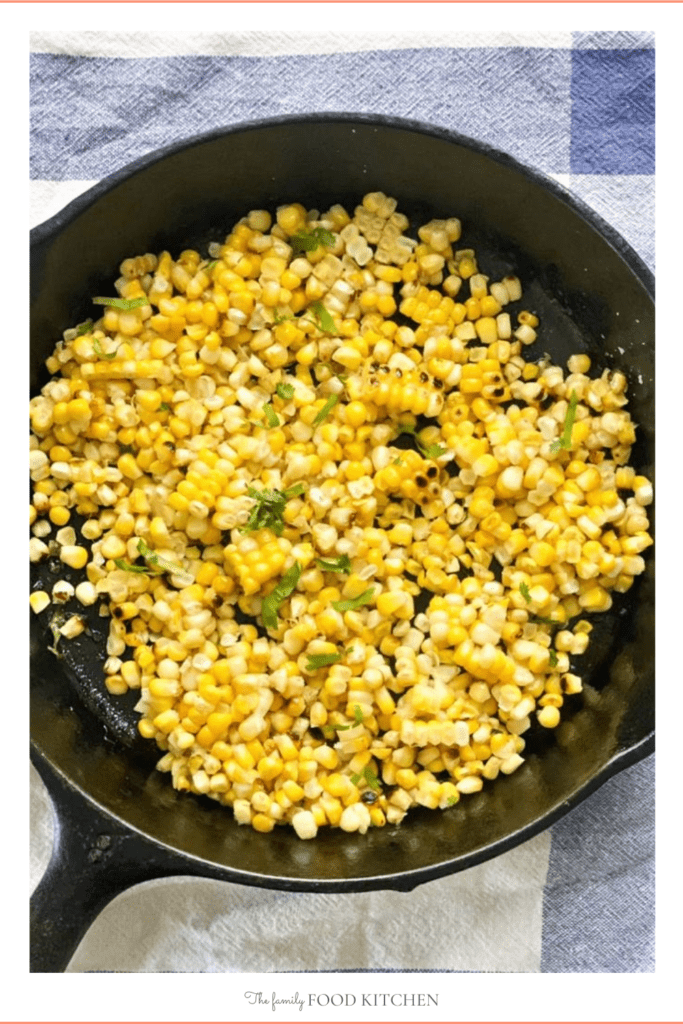
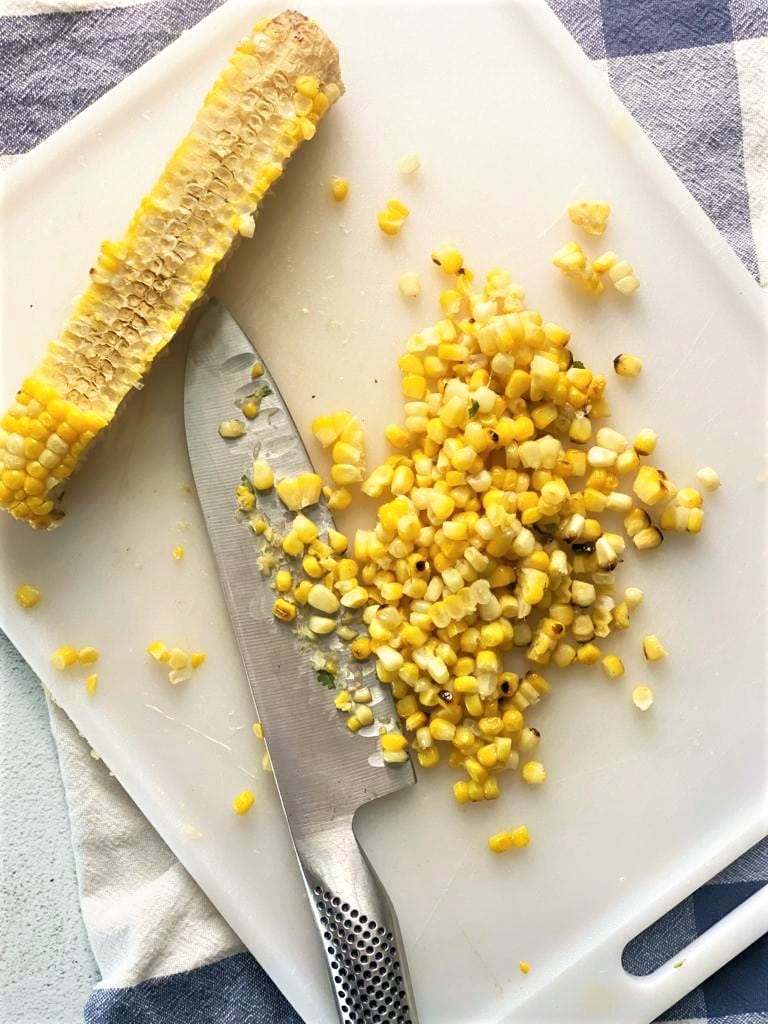
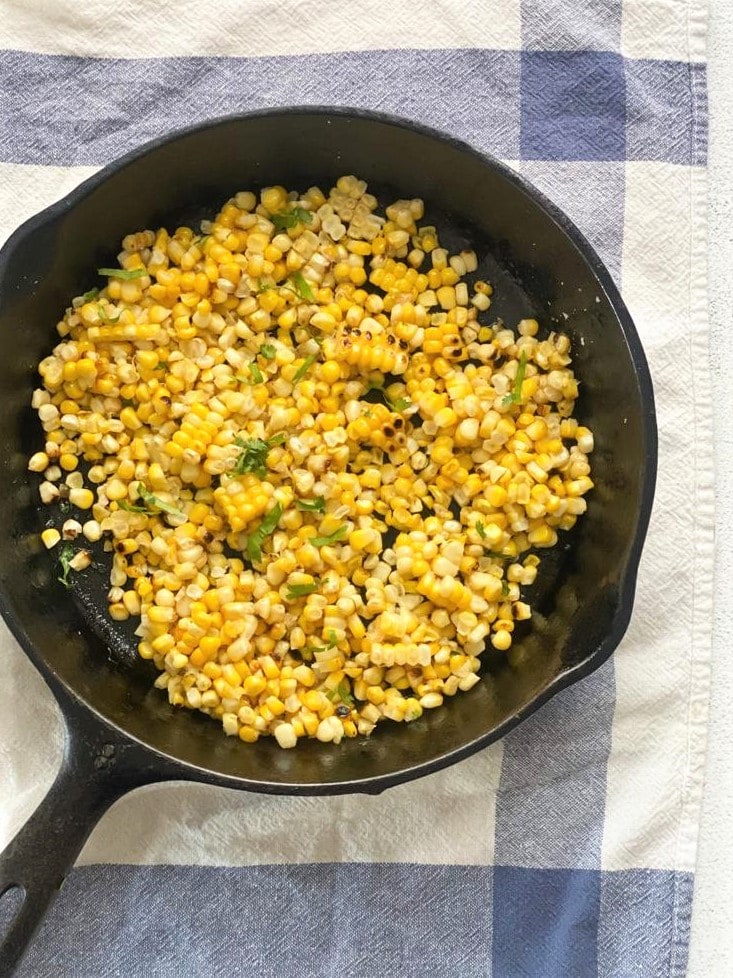
Alternatively, carefully slice the kernels off the corn with a large knife and serve with the same garnishes.
Expert Tips & Tricks
- Prioritize safety. Always use a very sharp chef's knife when trimming and prepping ears of corn. A dull blade can easily slip on the round, uneven surface.
- Get the Pan Screaming Hot! Heat your skillet thoroughly before adding the corn. A well-seasoned cast-iron skillet is ideal because it retains massive, even heat.
- Don't be afraid to let the corn sit undisturbed in the hot skillet for a couple of minutes at a time. That sustained contact is what develops the blackened color and deep flavor—just watch it closely so it caramelizes rather than burns.
- If you already have the BBQ fired up, you can easily char these ears directly on the grill grates instead of the stovetop.
Variations & Substitutions
- Pan Options: If you don't have cast iron, any heavy-bottomed frying pan, grill pan, or griddle pan will work beautifully.
- Fresh vs. Frozen: While fresh corn on the cob gives the best crunch, frozen corn kernels work just as well. Just thaw them and pat them completely dry with a paper towel before adding them to the hot pan so they sear instead of steam.
- Herbs & Spice: Stir in freshly chopped parsley, basil, or a pinch of diced fresh chili peppers for a kick of heat.
- Mexican Street Corn Style: Toss the charred corn with a squeeze of fresh lime juice, lime zest, chili powder, and crumbled cotija cheese.
- Italian Twist: Toss the hot corn with dried oregano, fresh basil leaves, and a generous dusting of finely grated Parmesan cheese.
- Add a kick of chili heat by adding some freshly chopped chili.
How to Serve
This simple side tastes great served alongside any main dish. It's perfect for a backyard cookout, so serve with any grilled dishes like Grilled Rainbow Kabobs, Bavette Steak, Grilled Lemon & Garlic Chicken Thighs or my Honey Lime Grilled Chicken Thighs.
You can also make a delicious corn salad or corn salsa - with finely diced red onion, red pepper, tomatoes and jalapeno peppers.
Add it to this easy Mexican Tuna Salad Recipe.
They work perfectly in my Grilled Corn & Black Bean Tacos with Feta.
Storage
This dish is best enjoyed straight from the skillet while the corn still has its signature juicy pop. To store leftovers, transfer the corn to an airtight container and keep it in the refrigerator for up to 3 days.
Reheating
To reheat, toss the corn back into a hot skillet with a tiny sliver of butter or splash of olive oil for 2 to 3 minutes until warmed through.
You can also use the microwave. Place the charred kernels in a microwave-safe bowl, cover it with a damp paper towel to trap the moisture, and heat on high in 30-second bursts until warmed through.
You can also enjoy the leftovers cold straight from the fridge in salads.
Can I freeze cooked corn?
Yes! To freeze the corn for future meal prep, slice the charred kernels off the cob and let them cool completely. Spread them in a single layer on a baking sheet to cool before transferring them to a freezer-safe bag. They will keep perfectly for up to 3 months and can be tossed straight into soups, stews, or taco fillings right from frozen.
Frequently Asked Questions
Can you make charred corn in advance?
Yes, you can absolutely make this dish ahead of time. Simply cook the corn according to the recipe, let it cool, and store it in the refrigerator. When you are ready to serve, just follow the quick reheating steps to bring back that fresh-off-the-skillet flavor.
Do you have to parboil the corn?
No, you don't have to parboil the corn first. However, I like to do this as it creates perfect tender results without drying out the corn.
What is the best way to cut corn off the cob?
First off, ensure you are using a sharp knife, no blunt knives please as you risk cutting yourself!
Placing the corn on it's flat end, cut vertically down the ear of corn, pushing the knife away from you. Continue working around the ear until all the corn kernels have been removed.
How much corn should you allow per person?
For corn, a serving is one half cup. This is the equivalent of one ear of corn or about 4 ounces. So this recipe will serve 4.
Is it normal for the corn to pop or jump in the pan?
Yes, this is completely normal and means your skillet is at the perfect temperature. As the moisture inside the kernels heats up, it expands and causes some of them to pop or crackle, so using a splatter screen or a loose lid can help keep your stovetop clean.
Why is my charred corn tough and chewy?
If your corn turned out tough, it usually means the heat was too low, causing the corn to slowly bake and dry out rather than get a quick flash sear. To fix this, make sure your skillet is screaming hot before the corn hits the pan so you get a fast char while keeping the inside juicy.
Can you use a regular non-stick pan for this recipe?
While you can use a standard non-stick pan, it is not recommended for this specific cooking method. Non-stick coatings can break down and release harmful fumes when heated to the high, dry temperatures required to deeply blacken and char vegetables, which is why cast iron or heavy stainless steel is much safer and more effective.
Pin This Skillet Charred Corn - Blackened Corn Recipe For Later
What Do You Think?!
Love this Recipe?
I’d be so grateful if you could leave a ⭐ rating and comment below — it really helps me know what works for you!
Save this recipe to Pinterest or share it with a friend who loves cooking. Follow me on Facebook and Instagram for more family friendly easy-to-do recipes.
More Easy Side Dish Recipe Ideas


Printable Recipe
Skillet Charred Corn Recipe (Blackened Corn)
Ingredients
- 4 medium ears Corn - husked/shucked
- 1 tbsp Olive Oil
- 2 tbsp Butter - plus extra to serve
- Sea Salt and Black Pepper
- Cilantro - optional to serve
Instructions
- Bring a medium pan of water to the boil and place in the husked corn.
- Boil gently for around 4 minutes to partially cook the corn. Drain and set aside to steam dry.
- Heat the olive oil in the skillet over a medium-high heat. Note - Make sure you start with a very hot skillet to get a good char on the corn.
- Gently place each ear of corn into the hot skillet.
- Allow the corn to cook for around 3 minutes without moving it - until kernals start to char.
- Turn with tongs and repeat on the other side.
- Add the butter and allow to melt onto the corn.
- Serve with extra sea salt, more butter and chopped cilantro if desired.
- Alternatively, carefully slice the kernels off the corn with a large knife and serve with the same garnishes.
Carol says
Tried this last night. Really good & easy to do. The children & hubby loved it
Jo Keohane says
Thank you so much!! So glad you liked this one.
Rose says
The only way we will every cook corn from now on! It was delicious!
Jo Keohane says
That's our strategy too!! Thank you so much for your comment.
Claire says
My eldest daughter is so fussy!!! I despair most days, but she loves corn! So I make it as a side for every meal as I know she will eat it, but man does it get a bit boring. So I was excited to try this. She LOVED it!!! (And so did the rest of the family)
We ate it off the cob with some BBQ ribs. (well we all had ribs, she had corn and some carrot)
Can't wait to try it again in tacos!
Jo Keohane says
That's so great, love it when the picky eaters enjoy their veggies. Thank you!
Sharina says
This corn recipe is my favorite! Love it with lots of butter sprinkled with salt. So satisfying! Even the picky loves them!
Jo Keohane says
Haha my picky eater loves corn this way too. Thank you so much.
Addison says
This corn was such a great side dish! We loved it with our burgers for dinner. Loved the charred flavor!
Jo Keohane says
Thank you - it really makes a difference doesn't it? Glad you enjoyed!!
Gina says
This was a fun new way to cook corn! We loved the crispy charred kernels and will definitely be making this again.
Jo Keohane says
So glad you enjoyed this! Thanks for commenting